












Isotex guarantees quick and easy installation.
Easy to lay construction system. Time cut in half
Isotex wood-concrete formwork blocks make it possible to construct buildings in an exceptionally short time. This is because the blocks are laid dry, are lightweight, easy to handle, and offer excellent workability.
With a single installation, simple and fast, it is possible to create anti-seismic constructions, resistant to fire, in green building, with excellent thermal and acoustic insulation.
With Isotex, delivery times are always respected.
How Isotex wood cement blocks are laid
The laying of Isotex wood cement formwork blocks is done in stages. In order to lay the blocks, during the construction of the foundation, provision should be made for the insertion of a vertical reinforcement with a pitch of 25 cm (the pitch of the block hole), with a height of about 50 cm and a diameter of 40.
Alternatively, once the foundation is built and the first course of blocks laid, vertical reinforcement can be placed with resins. Laying of the first course should be done over two layers of mortar placed at the walls of the blocks (to be avoided over their entire width) so that the layer is perfectly straight and level. The mortar has a compressive strength significantly lower than that of c.l.s. R’ck ≥ 30 N/mm2. Next you have to place the corners (UNI) and pull the wire for perfect verticality.


The second phase. No thermal and acoustic bridging
Laying the first course level, starting with the wood cement blocks at an angle (UNI), proceed with the laying of the next courses completely dry, keeping the blocks tight to avoid thermal and acoustic bridges . It is very important to offset the next course by half a block using the special pieces. In this way inside the block you will get the maximum concrete section and proper wall bearing capacity.
Isotex formwork blocks should always be laid with the bezel facing upward, this is for the connection of the reinforcement and concrete and with the block side with the insulation facing outward. Any cutting of the block, to make custom walls, should be done in the center of the wall, keeping it in the same position in subsequent courses. In this way, three possible problems are avoided: displacement of internal columns, reduction in load bearing capacity and difficult filling of the blocks with concrete. At each course, horizontal reinforcement must be inserted into the appropriate bezels of the blocks, up to a height of 6 courses (1.5 meters).
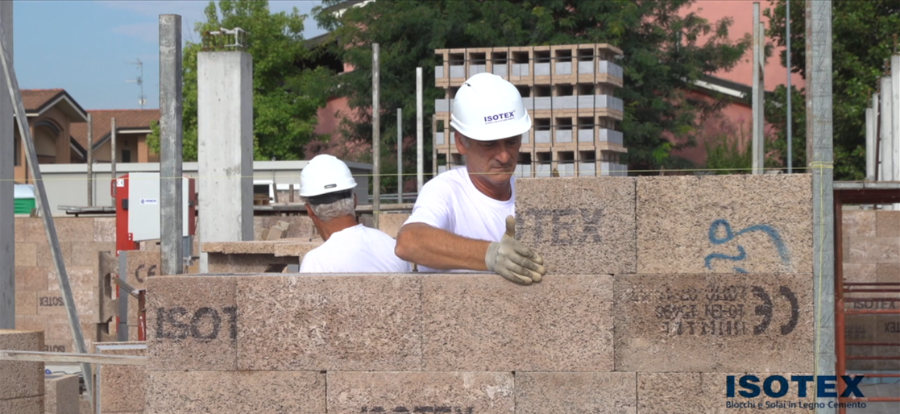

The last phase: filling the blocks
At this point , the walls are completely filled with concrete. Filling that can be done by bucket or pump, being careful, however, not to exert too much pressure that could shift the alignment of the blocks. The concrete should have a workability ofS4-S5 (fluid and superfluid), a strength class in line with calculation requirements and a small aggregate grain size (12-15 mm), so as to ensure perfect filling of the blocks.
It is important to start filling with concrete from the perimeter walls, staying about one meter away from the corners and shoulders of doors and windows. In this way the concrete, passing from the bezels to the blocks, will exert less pressure and, therefore, will not displace the blocks. When the perimeter walls are finished, the interior walls will then be backfilled.
In the first casting of the six courses, it is important to keep the concrete level in the middle of the sixth course, insert the 2-meter-high vertical reinforcement at the same time as the casting and vibrate it with a small needle, so as to make sure the walls are completely filled. Should any concrete end up on the walls of the blocks during the pouring phase, it will be advisable to remove it immediately, so as to prevent it from making thickness. It will then be possible to proceed up to the height of the slab.


For more specific information on laying the blocks, see the reference sections:
Analyses

Webinar on the laying speed

Instructions for plastering and finishing
